I’ve written quite a lot recently about how I prepare and optimise SVG code to use as static graphics or in animations. I love working with SVG, but there’s always been something about them that bugs me.
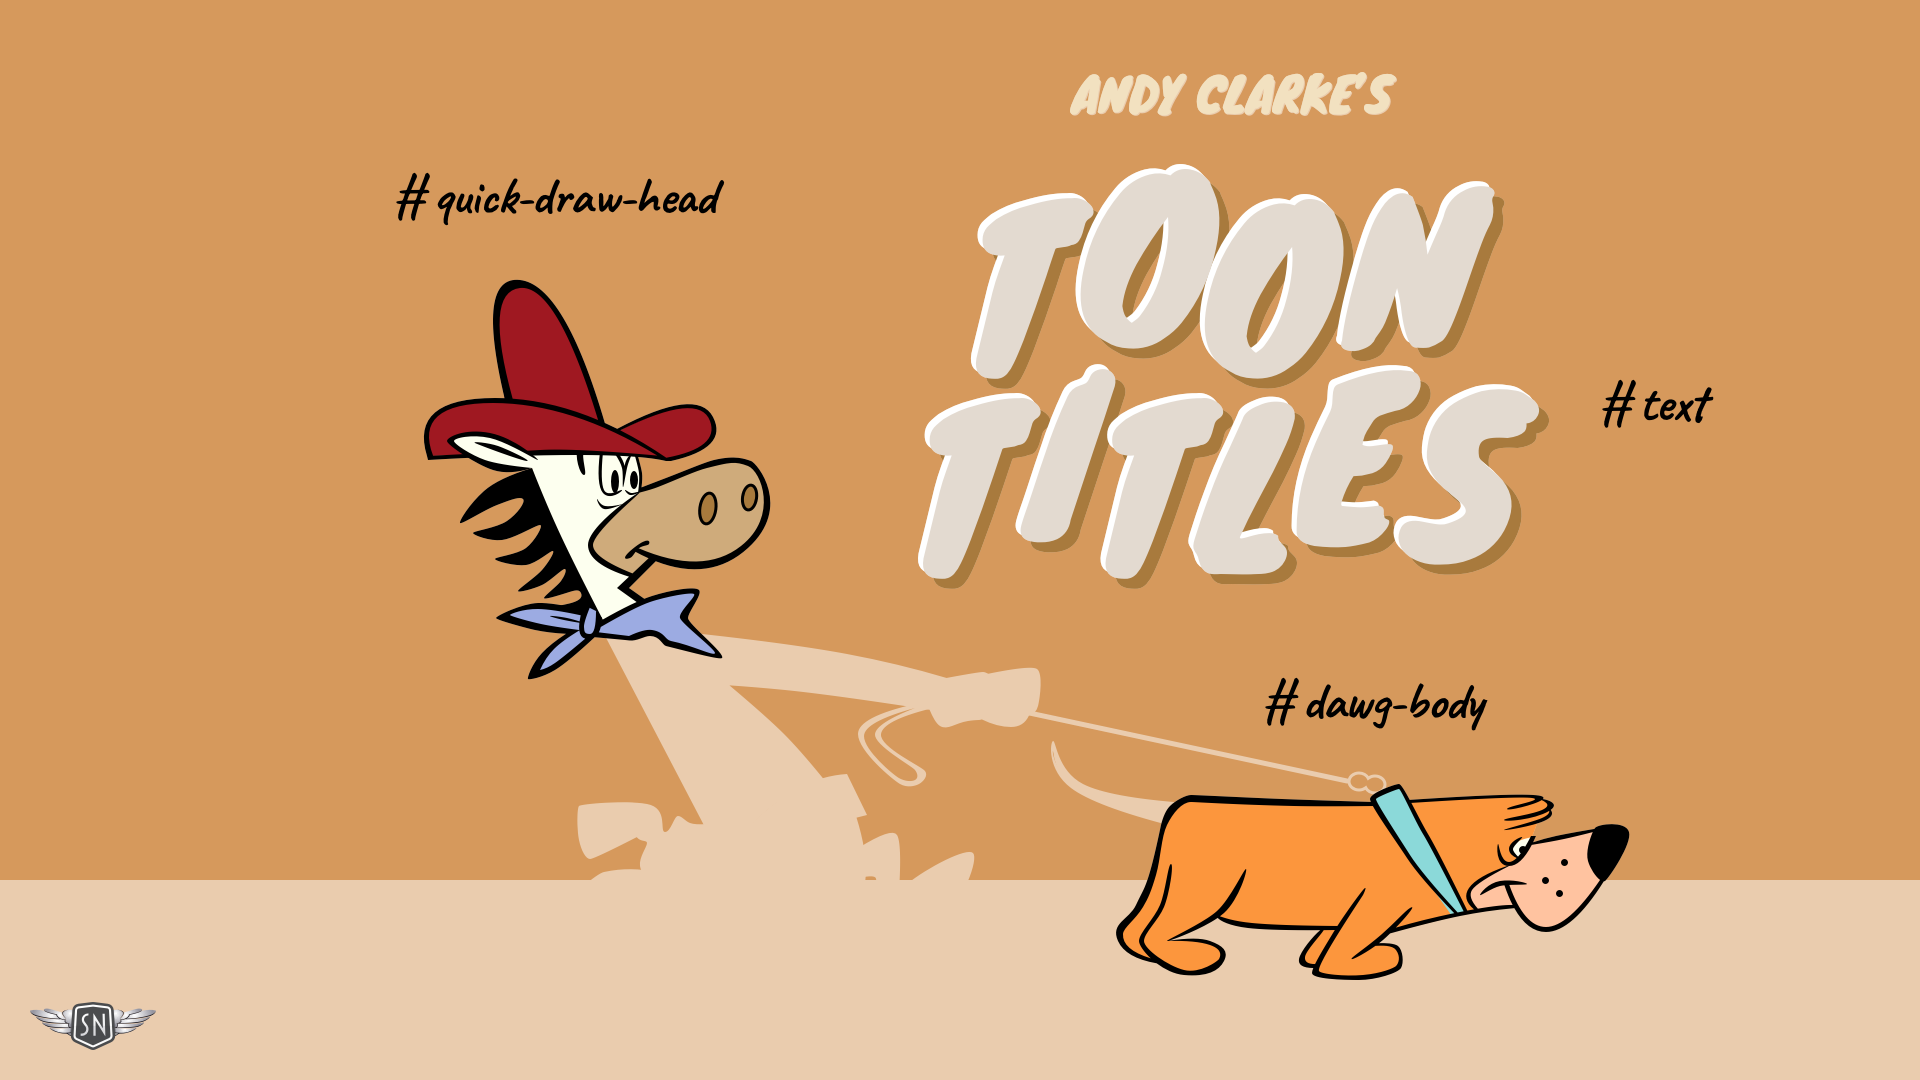
To illustrate how I build adaptive SVGs, I’ve selected an episode of The Quick Draw McGraw Show called “Bow Wow Bandit,” first broadcast in 1959.
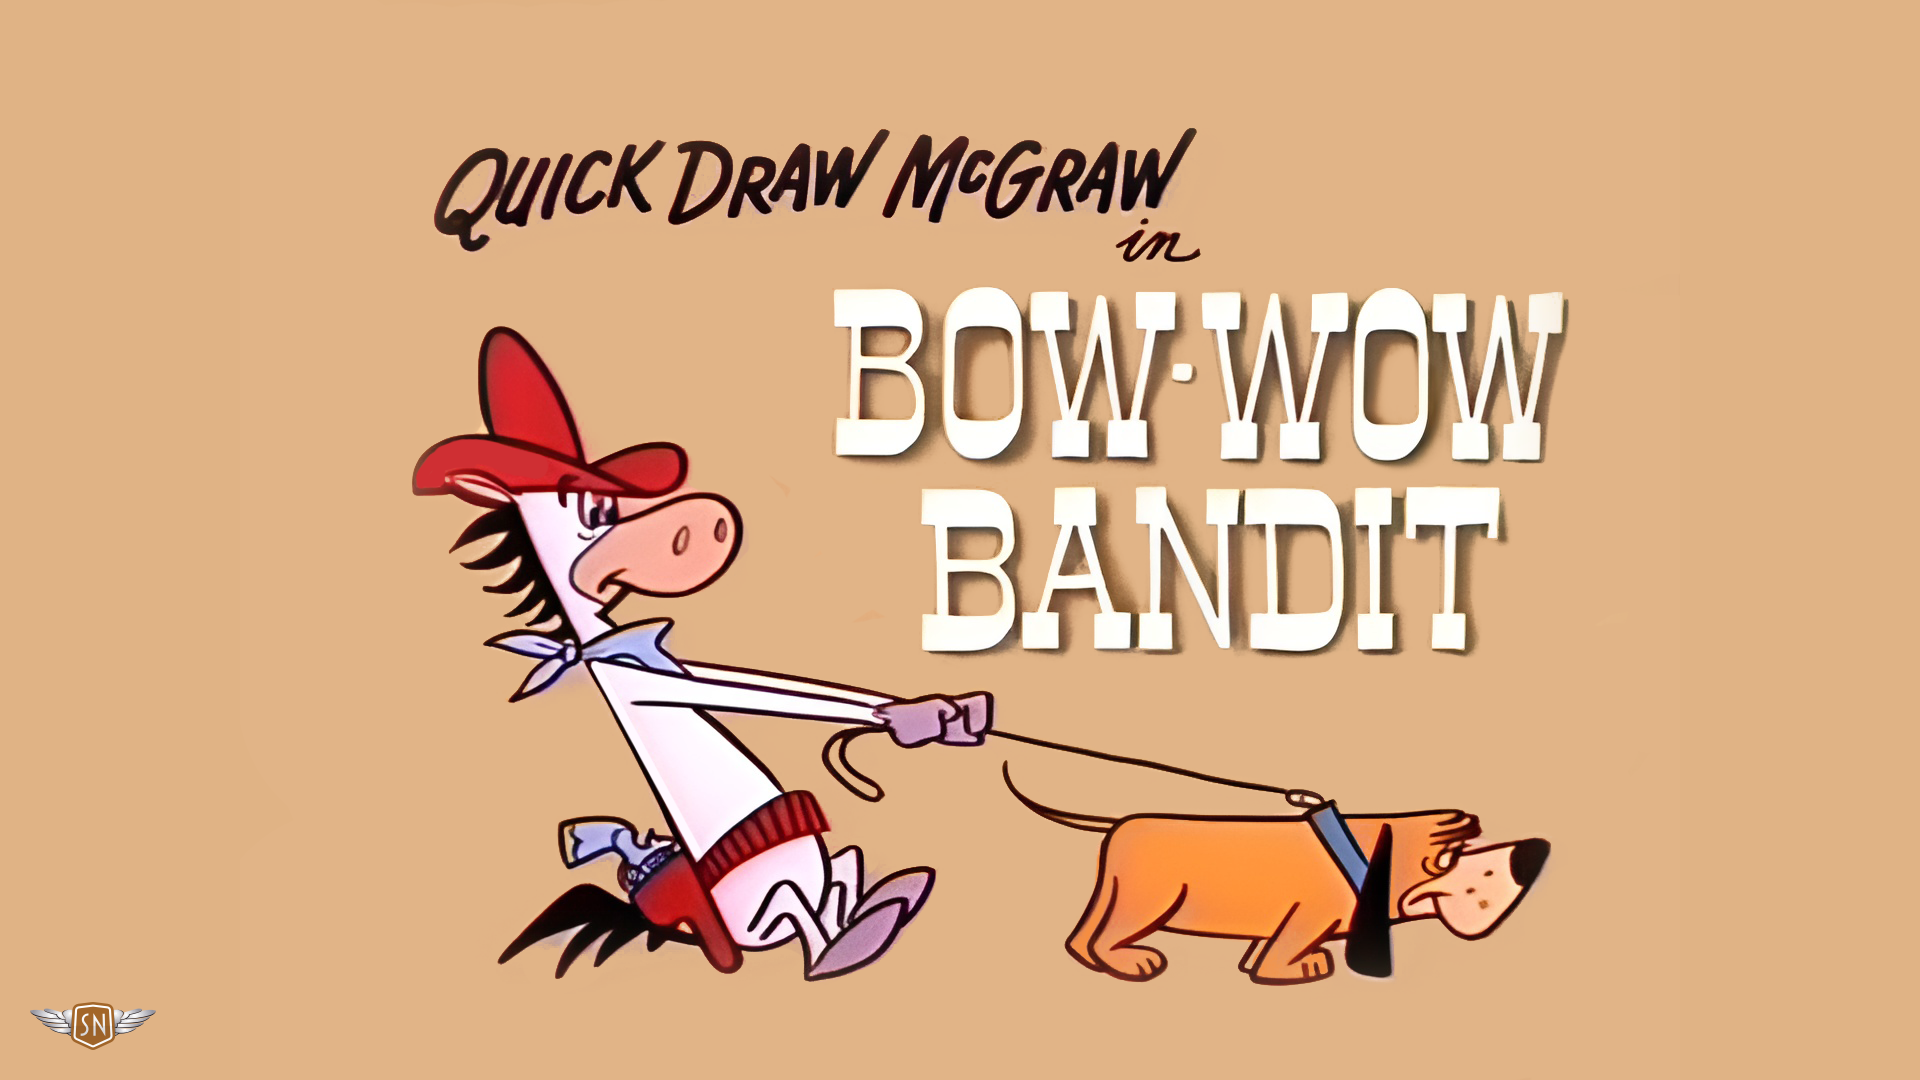
In it, Quick Draw McGraw enlists his bloodhound Snuffles to rescue his sidekick Baba Looey. Like most Hanna-Barbera title cards of the period, the artwork was made by Lawrence (Art) Goble.

Let’s say I’ve designed an SVG scene like that one that’s based on Bow Wow Bandit, which has a 16:9 aspect ratio with a viewBox size of 1920×1080. This SVG scales up and down (the clue’s in the name), so it looks sharp when it’s gigantic and when it’s minute.
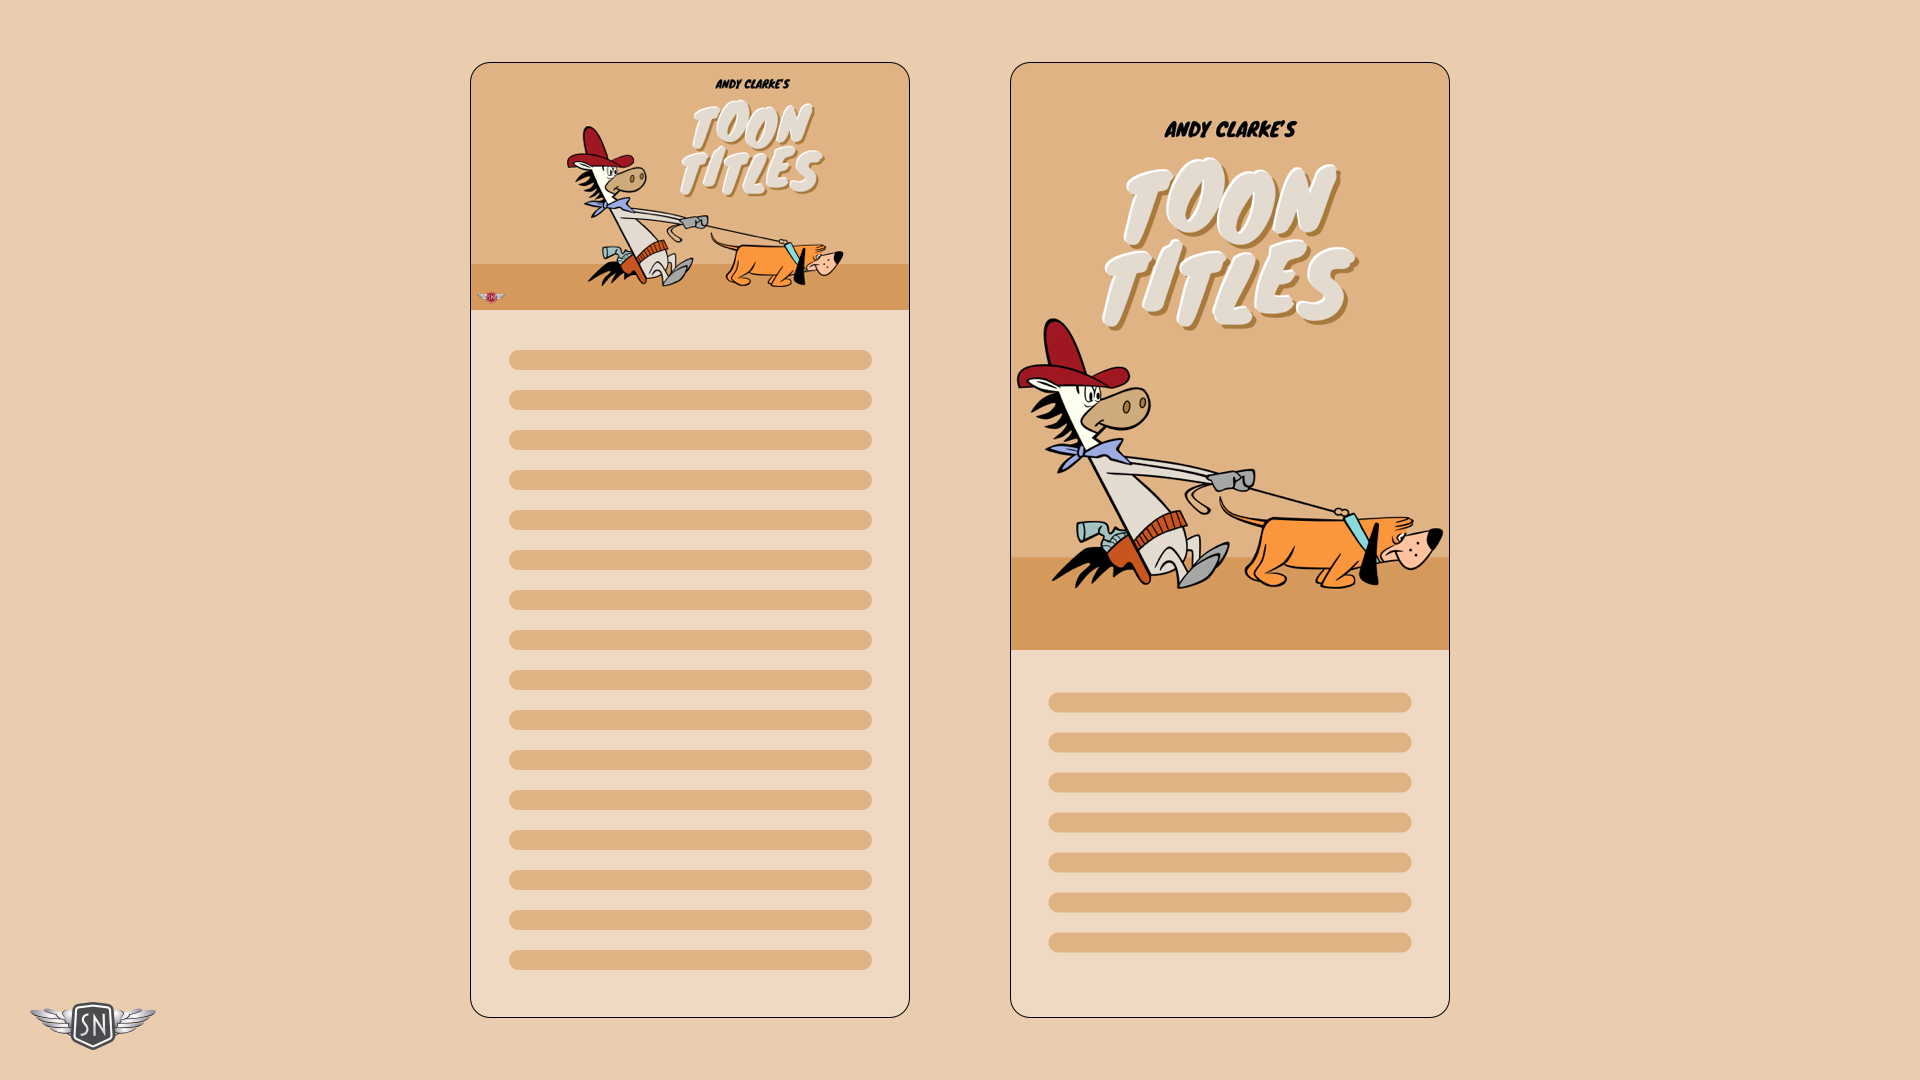
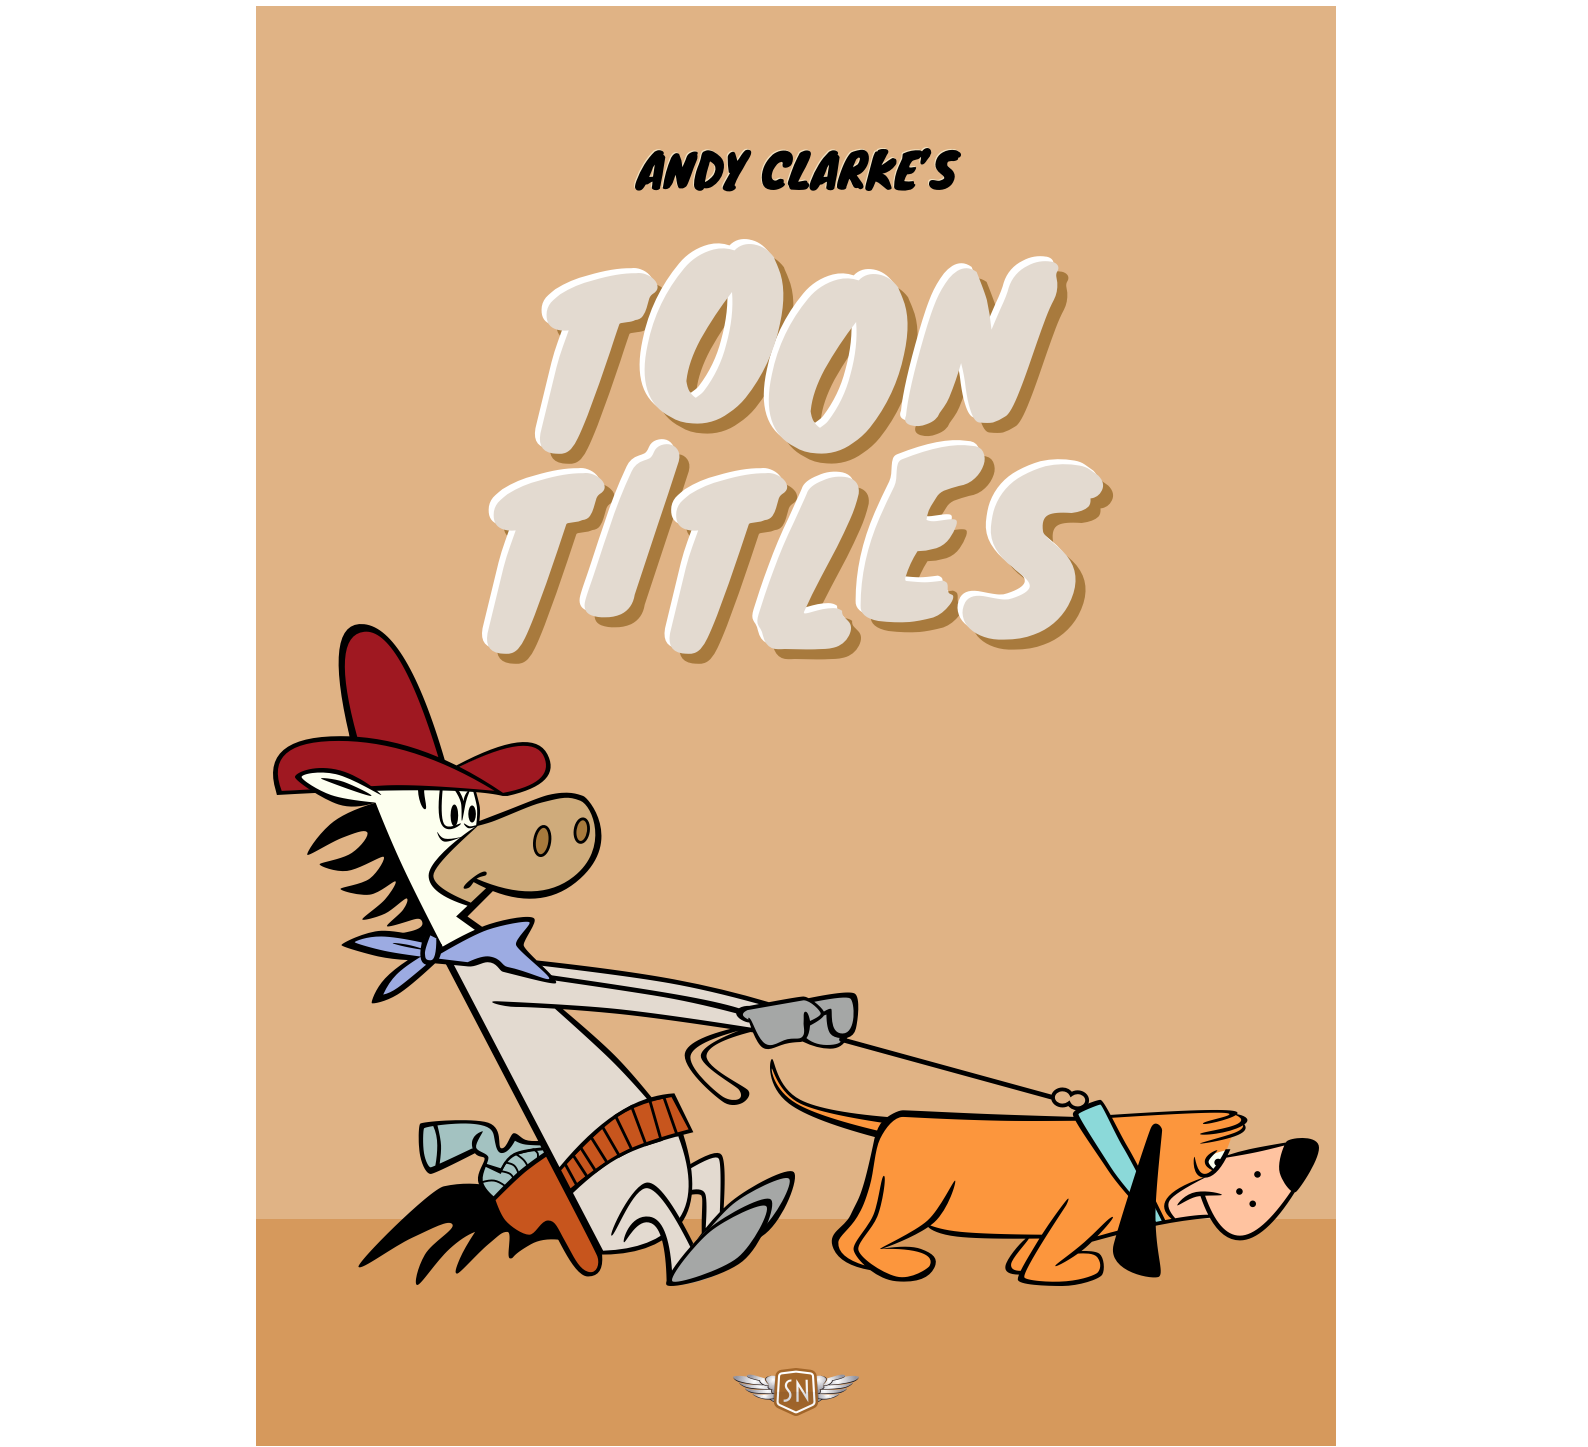
But on small screens, the 16:9 aspect ratio (live demo) might not be the best format, and the image loses its impact. Sometimes, a portrait orientation, like 3:4, would suit the screen size better.
But, herein lies the problem, as it’s not easy to reposition internal elements for different screen sizes using just viewBox. That’s because in SVG, internal element positions are locked to the coordinate system from the original viewBox, so you can’t easily change their layout between, say, desktop and mobile. This is a problem because animations and interactivity often rely on element positions, which break when the viewBox changes.
My challenge was to serve a 1080×1440 version of Bow Wow Bandit to smaller screens and a different one to larger ones. I wanted the position and size of internal elements — like Quick Draw McGraw and his dawg Snuffles — to change to best fit these two layouts. To solve this, I experimented with several alternatives.
Note: Why are we not just using the
Showing And Hiding SVG
The most obvious choice was to include two different SVGs in my markup, one for small screens, the other for larger ones, then show or hide them using CSS and Media Queries:
#svg-small { display: block; }
#svg-large { display: none; }

@media (min-width: 64rem) {
  #svg-small { display: none; }
  #svg-mobile { display: block; }
}
But using this method, both SVG versions are loaded, which, when the graphics are complex, means downloading lots and lots and lots of unnecessary code.
Replacing SVGs Using JavaScript
I thought about using JavaScript to swap in the larger SVG at a specified breakpoint:
if (window.matchMedia('(min-width: 64rem)').matches) {
  svgContainer.innerHTML = desktopSVG;
} else {
  svgContainer.innerHTML = mobileSVG;
}
Leaving aside the fact that JavaScript would now be critical to how the design is displayed, both SVGs would usually be loaded anyway, which adds DOM complexity and unnecessary weight. Plus, maintenance becomes a problem as there are now two versions of the artwork to maintain, doubling the time it would take to update something as small as the shape of Quick Draw’s tail.
The Solution: One SVG Symbol Library And Multiple Uses
Remember, my goal is to:
- Serve one version of Bow Wow Bandit to smaller screens,
- Serve a different version to larger screens,
- Define my artwork just once (DRY), and
- Be able to resize and reposition elements.
I don’t read about it enough, but the
A elements, I can insert the same symbol multiple times, at different positions or sizes, and even in different SVGs.
Each viewBox, which defines its internal coordinate system. That means paying special attention to how SVG elements are exported from apps like Sketch.
Exporting For Individual Viewboxes
I wrote before about how I export elements in layers to make working with them easier. That process is a little different when creating symbols.
Ordinarily, I would export all my elements using the same viewBoxsize. But when I’m creating a symbol, I need it to have its own specific viewBox.
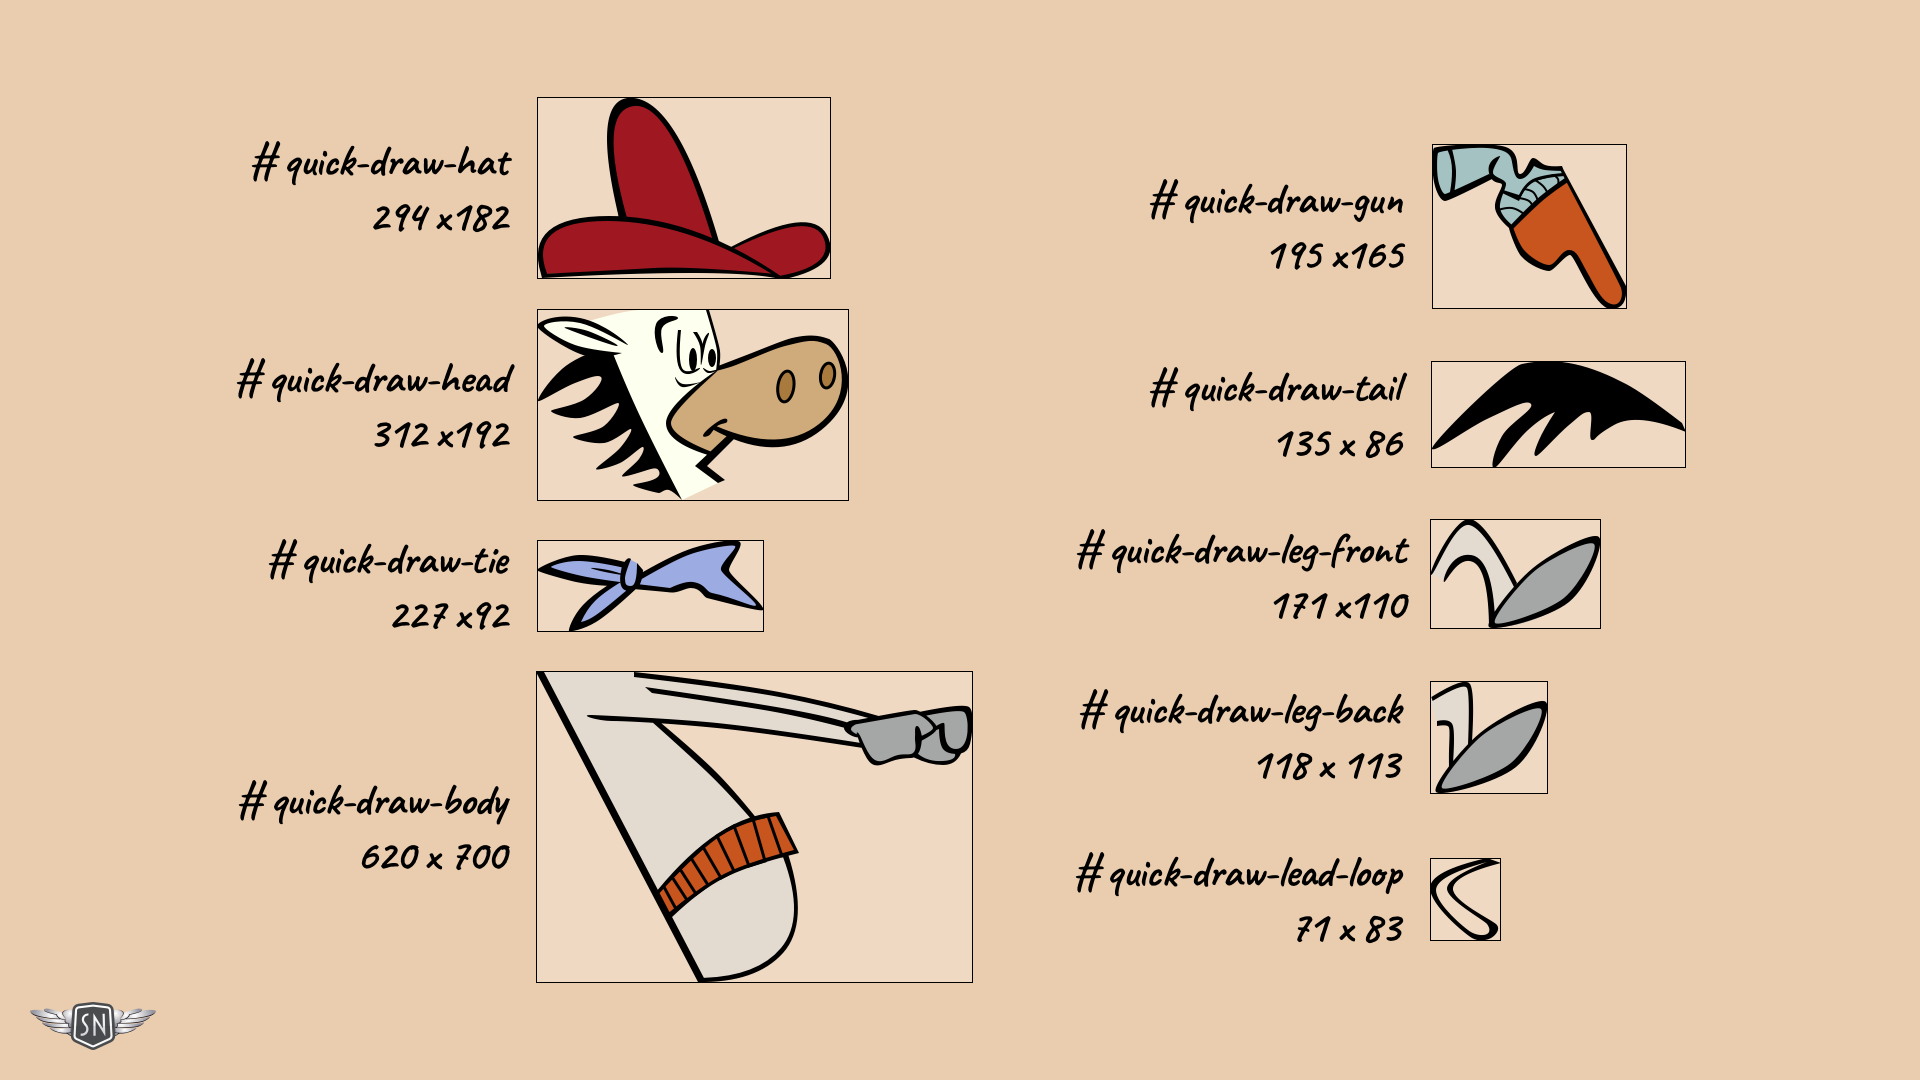
So I export each element as an individually sized SVG, which gives me the dimensions I need to convert its content into a symbol. Let’s take the SVG of Quick Draw McGraw’s hat, which has a viewBox size of 294×182:
I swap the SVG tags for
Then, I repeat the process for all the remaining elements in my artwork. Now, if I ever need to update any of my symbols, the changes will be automatically applied to every instance it’s used.
Using A
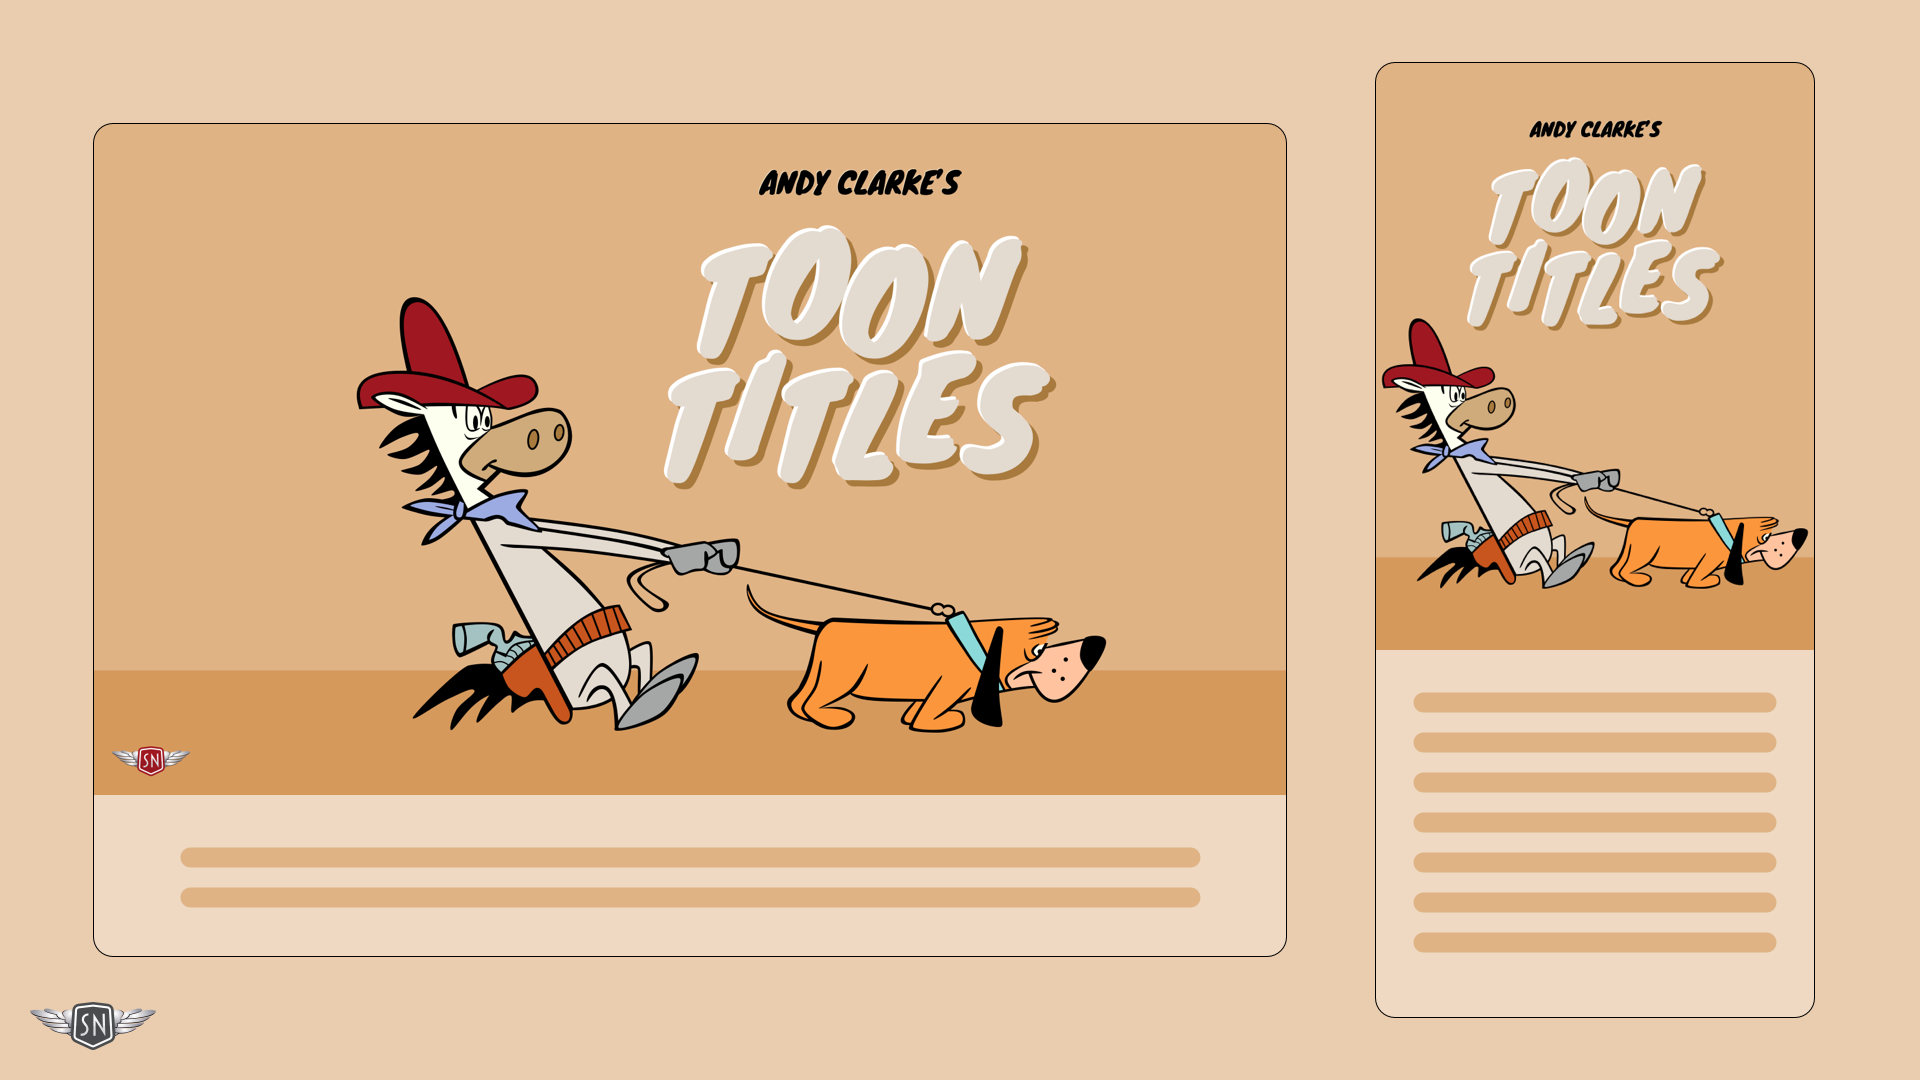
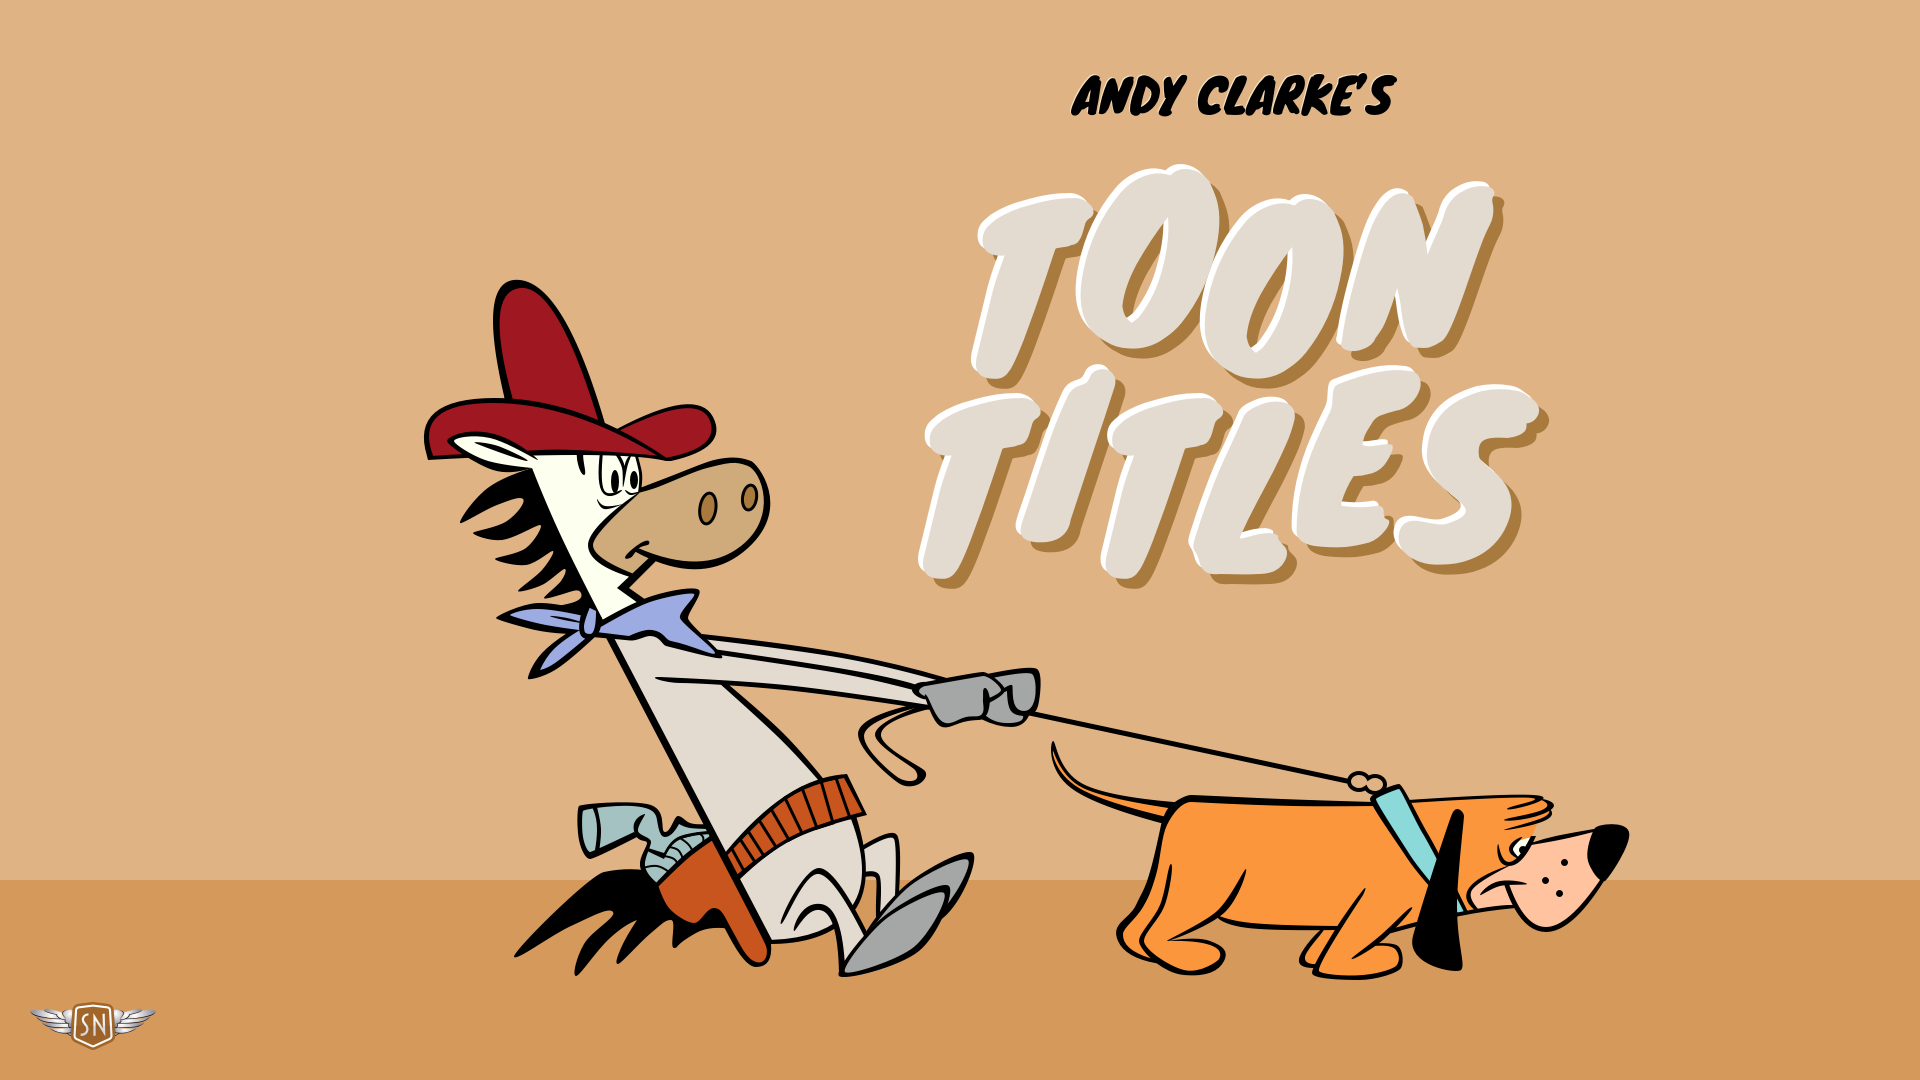
I wanted my elements to appear in both versions of Bow Wow Bandit, one arrangement for smaller screens and an alternative arrangement for larger ones. So, I create both SVGs:
…and insert links to my symbols in both:
Positioning Symbols
Once I’ve placed symbols into my layout using , my next step is to position them, which is especially important if I want alternative layouts for different screen sizes. Symbols behave like width, height, and transform:
I can place each element independently using transform. This is powerful because rather than repositioning elements inside my SVGs, I move the references. My internal layout stays clean, and the file size remains small because I’m not duplicating artwork. A browser only loads it once, which reduces bandwidth and speeds up page rendering. And because I’m always referencing the same symbol, their appearance stays consistent, whatever the screen size.
Animating
Here’s where things got tricky. I wanted to animate parts of my characters — like Quick Draw’s hat tilting and his legs kicking. But when I added CSS animations targeting internal elements inside a
Tip: You can animate the element itself, but not elements inside the .
Turns out, you can’t style or animate a creates shadow DOM clones that aren’t easily targetable. So, I had to get sneaky. Inside each
…and animated it using an attribute substring selector, targeting the href attribute of the use element:
use[href="#quick-draw-hat"] {
  animation-delay: 0.5s;
  animation-direction: alternate;
  animation-duration: 1s;
  animation-iteration-count: infinite;
  animation-name: hat-rock;
  animation-timing-function: ease-in-out;
  transform-origin: center bottom;
}

@keyframes hat-rock {
from { transform: rotate(-2deg); }
to   { transform: rotate(2deg); } }
Once I’ve created my two visible SVGs — one for small screens and one for larger ones — the final step is deciding which version to show at which screen size. I use CSS Media Queries to hide one SVG and show the other. I start by showing the small-screen SVG by default:
.svg-small { display: block; }
.svg-large { display: none; }
Then I use a min-width media query to switch to the large-screen SVG at 64rem and above:
@media (min-width: 64rem) {
  .svg-small { display: none; }
  .svg-large { display: block; }
}
This ensures there’s only ever one SVG visible at a time, keeping my layout simple and the DOM free from unnecessary clutter. And because both visible SVGs reference the same hidden elements appear across the two layouts.
Wrapping Up
By combining , CSS Media Queries, and specific transforms, I can build adaptive SVGs that reposition their elements without duplicating content, loading extra assets, or relying on JavaScript. I need to define each graphic only once in a hidden symbol library. Then I can reuse those graphics, as needed, inside several visible SVGs. With CSS doing the layout switching, the result is fast and flexible.
It’s a reminder that some of the most powerful techniques on the web don’t need big frameworks or complex tooling — just a bit of SVG know-how and a clever use of the basics.
(gg, yk)